
 使用容器方式的Nginx非常方便,但是这种方式需要Docker运行环境的支持,所以在有些情况下直接在物理机器上安装和设定Nginx的方式仍然非常方便。这篇文章进行一下相关的基础介绍。
CentOS/RHEL安装命令: yum install nginx
注意:此安装包目前在epel-release下,所以需要先行安装epel-release。
Ubuntu安装命令: apt install nginx
安装 事前环境确认[root@liumiaocn ~]# uname -a Linux liumiaocn 5.4.2-1.el7.elrepo.x86_64 #1 SMP Wed Dec 4 17:32:23 EST 2019 x86_64 x86_64 x86_64 GNU/Linux [root@liumiaocn ~]# cat /etc/redhat-release CentOS Linux release 7.7.1908 (Core) [root@liumiaocn ~]#安装
执行如下命令即可完成安装
步骤1: yum install epel-release -y
步骤2: yum install nginx -y
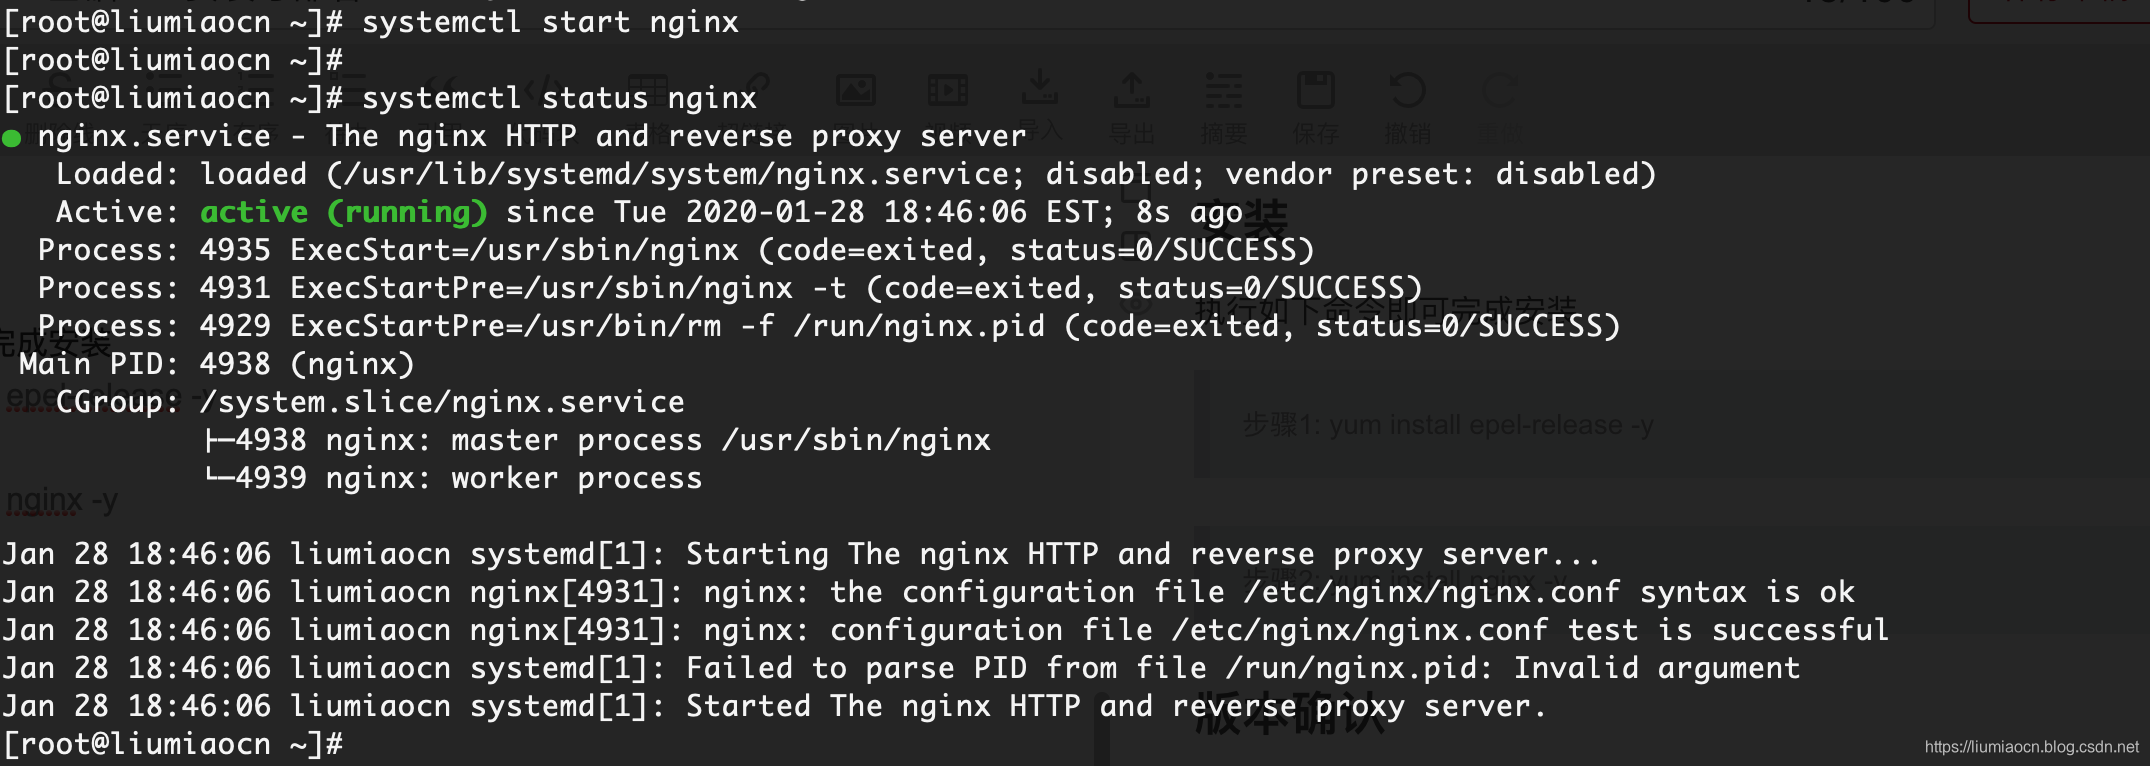
版本确认[root@liumiaocn ~]# nginx -v nginx version: nginx/1.16.1 [root@liumiaocn ~]#启动nginx服务
启动命令: systemctl start nginx
使用nginx -V即可确认详细的配置信息,比如本文示例的配置信息如下所示
[root@liumiaocn ~]# nginx -V
nginx version: nginx/1.16.1
built by gcc 4.8.5 20150623 (Red Hat 4.8.5-39) (GCC)
built with OpenSSL 1.0.2k-fips  26 Jan 2017
TLS SNI support enabled
configure arguments: --prefix=/usr/share/nginx --sbin-path=/usr/sbin/nginx --modules-path=/usr/lib64/nginx/modules --conf-path=/etc/nginx/nginx.conf --error-log-path=/var/log/nginx/error.log --http-log-path=/var/log/nginx/access.log --http-client-body-temp-path=/var/lib/nginx/tmp/client_body --http-proxy-temp-path=/var/lib/nginx/tmp/proxy --http-fastcgi-temp-path=/var/lib/nginx/tmp/fastcgi --http-uwsgi-temp-path=/var/lib/nginx/tmp/uwsgi --http-scgi-temp-path=/var/lib/nginx/tmp/scgi --pid-path=/run/nginx.pid --lock-path=/run/lock/subsys/nginx --user=nginx --group=nginx --with-file-aio --with-ipv6 --with-http_ssl_module --with-http_v2_module --with-http_realip_module --with-stream_ssl_preread_module --with-http_addition_module --with-http_xslt_module=dynamic --with-http_image_filter_module=dynamic --with-http_sub_module --with-http_dav_module --with-http_flv_module --with-http_mp4_module --with-http_gunzip_module --with-http_gzip_static_module --with-http_random_index_module --with-http_secure_link_module --with-http_degradation_module --with-http_slice_module --with-http_stub_status_module --with-http_perl_module=dynamic --with-http_auth_request_module --with-mail=dynamic --with-mail_ssl_module --with-pcre --with-pcre-jit --with-stream=dynamic --with-stream_ssl_module --with-google_perftools_module --with-debug --with-cc-opt='-O2 -g -pipe -Wall -Wp,-D_FORTIFY_SOURCE=2 -fexceptions -fstack-protector-strong --param=ssp-buffer-size=4 -grecord-gcc-switches -specs=/usr/lib/rpm/redhat/redhat-hardened-cc1 -m64 -mtune=generic' --with-ld-opt='-Wl,-z,relro -specs=/usr/lib/rpm/redhat/redhat-hardened-ld -Wl,-E'
[root@liumiaocn ~]#
从上述内容中可以看到一些配置与设定以及此nginx的模块
- 二进制文件:/usr/sbin/nginx
- 安装目录:/usr/share/nginx
- 配置文件目录:/etc/nginx
- 配置文件:/etc/nginx/nginx.conf
- 访问日志信息:/var/log/nginx/access.log
- 错误日志信息:/var/log/nginx/error.log
- 模块保存目录:/usr/lib64/nginx/modules
缺省启动后服务会在80端口启动,所以直接使用http://IP或者域名的方式即可直接访问,访问后可以看到如下内容:
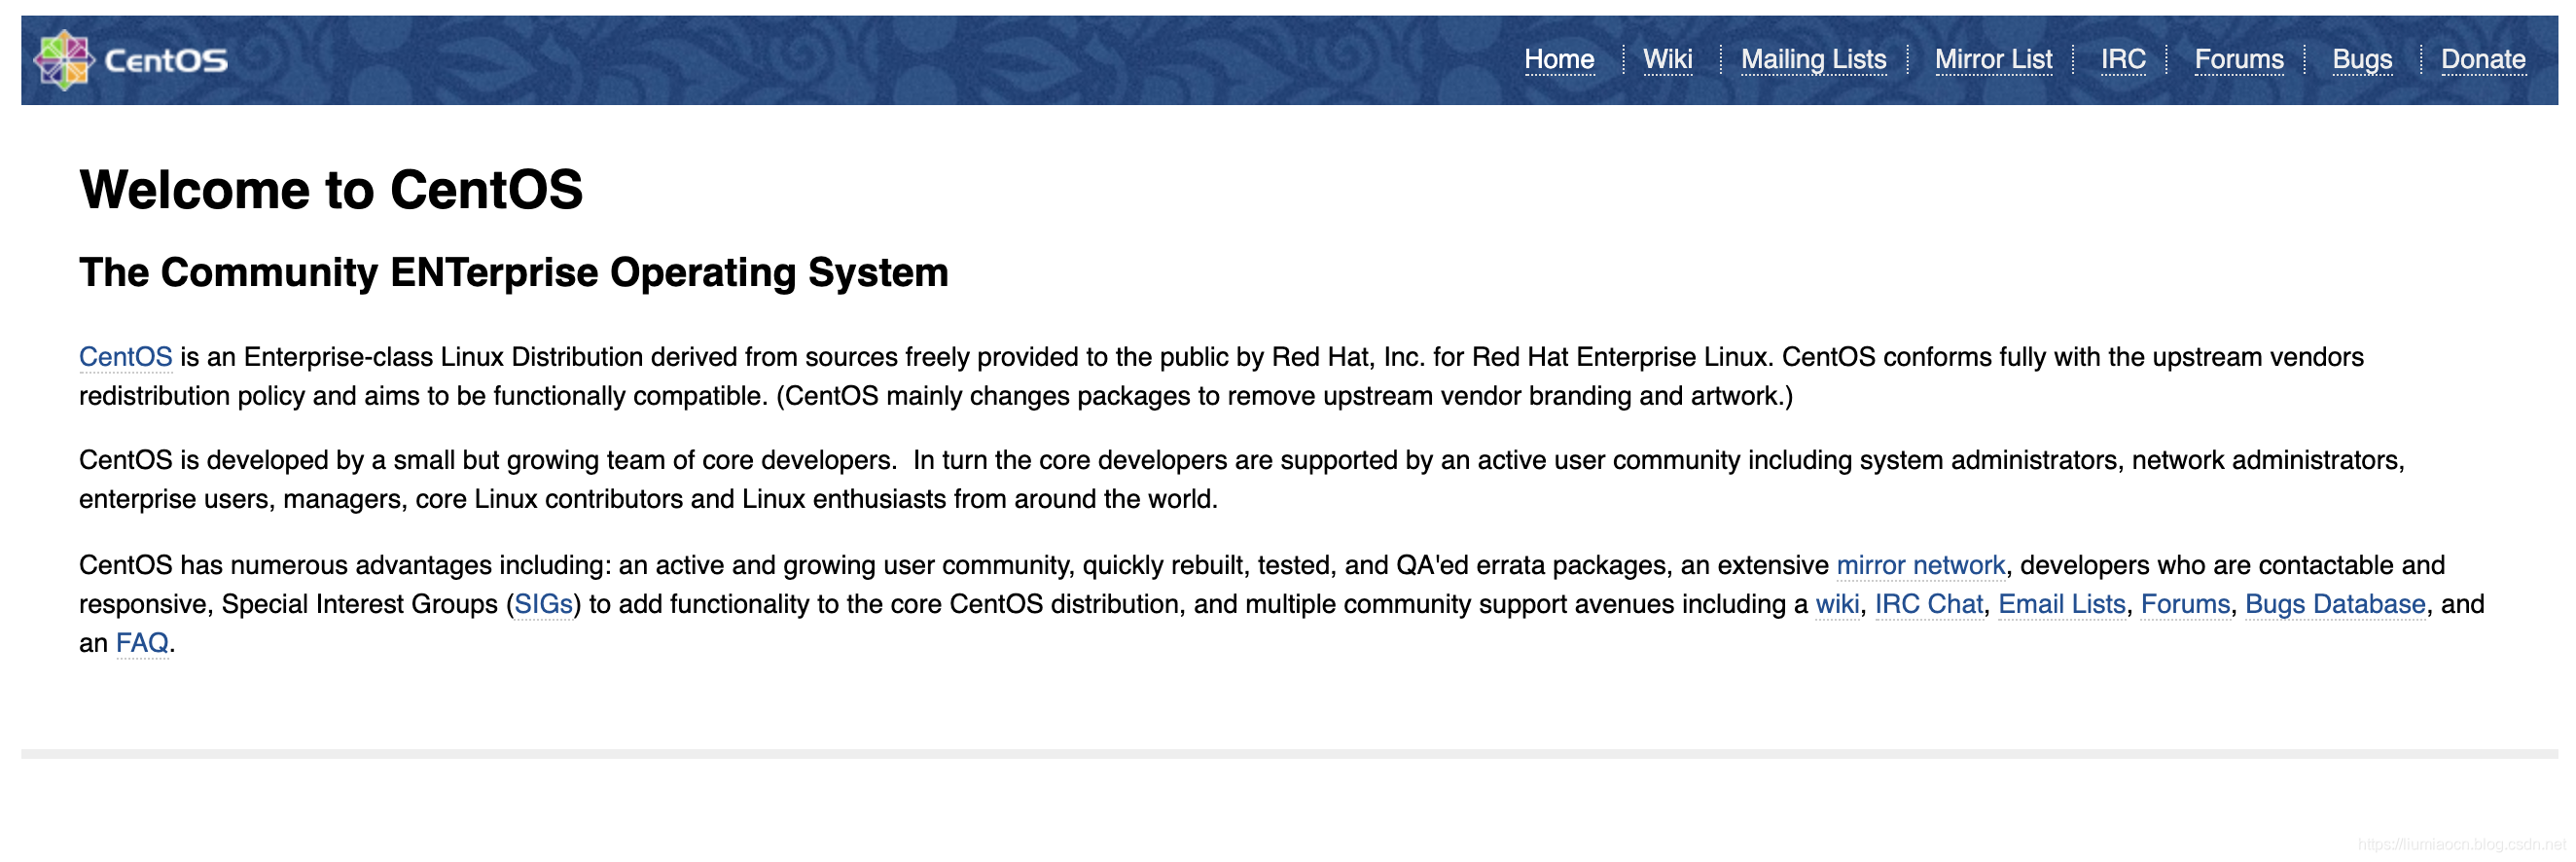 这个原因是因为此epel-release下的index.html已经被修改了
[root@liumiaocn ~]# cd /usr/share/nginx/html/
[root@liumiaocn html]# grep 'CentOS' index.html <title>Welcome to CentOS
关注
打赏
最近更新
- 深拷贝和浅拷贝的区别(重点)
- 【Vue】走进Vue框架世界
- 【云服务器】项目部署—搭建网站—vue电商后台管理系统
- 【React介绍】 一文带你深入React
- 【React】React组件实例的三大属性之state,props,refs(你学废了吗)
- 【脚手架VueCLI】从零开始,创建一个VUE项目
- 【React】深入理解React组件生命周期----图文详解(含代码)
- 【React】DOM的Diffing算法是什么?以及DOM中key的作用----经典面试题
- 【React】1_使用React脚手架创建项目步骤--------详解(含项目结构说明)
- 【React】2_如何使用react脚手架写一个简单的页面?

