Redux 基础
阐述
- 阐述
- 编写按钮添加响应事件和Action
- 创建Action并用dispatch()传递给store
- 编写Reducer的业务逻辑
- demo
- demo01\src\store\index.js
- demo01\src\TodoList.js
- 知识点:让组件发生更新
- demo01\src\index.js
- demo01\src\store\reducer.js
通过上章节的知识,我们用同样的方法和流程,再开发一遍 toDoList 里边的列表功能,具体来说就是当点击添加按钮时,ToDoList 组件的列表会增加。
知识其实我们都已经会了,缺少的是熟练度。
编写按钮添加响应事件和Action先来编写按钮点击后的响应事件,打开 TodoList.js 文件,然后在按钮的地方加入 onClick 事件,记得要进行绑定哦。
增加
然后在 constructor 里进行绑定,代码如下:
constructor(props){
    super(props)
    this.state=store.getState();
    this.changeInputValue= this.changeInputValue.bind(this)
    this.storeChange = this.storeChange.bind(this)
    //关键代码------------start----------
    this.clickBtn = this.clickBtn.bind(this)
    //关键代码------------end----------
    store.subscribe(this.storeChange) //订阅Redux的状态
}
绑定之后就可以编写 clickBtn() 方法了,这里先用一个打印语句代替业务内容。
clickBtn(){
    console.log('willem')
}
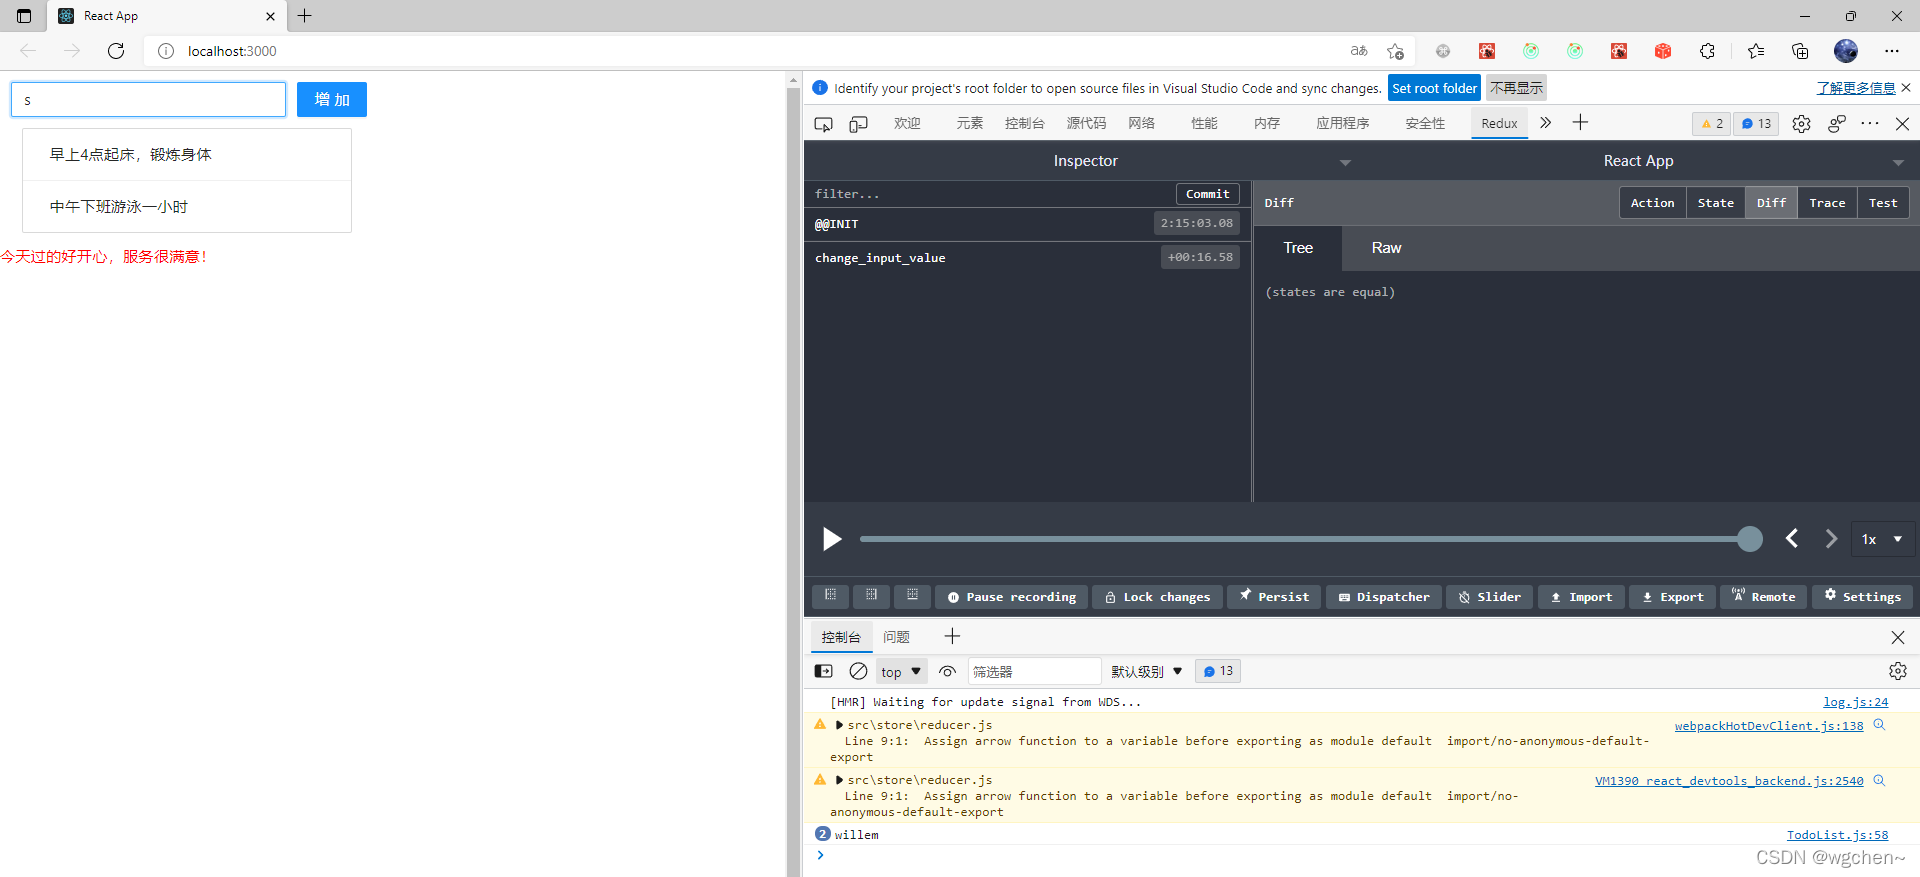
这时候预览一下,点击”增加按钮”,在控制台就可以输出 willem了。说明我们的事件添加成功了。
在 clickBtn 方法里增加Action,然后用 dispatch() 方法传递给store,代码如下:
clickBtn(){
   const action = { type:'addItem'}
   store.dispatch(action)
}
这时候已经把action传递给了store,然后去Reducer里编写业务逻辑就可以了。
编写Reducer的业务逻辑打开 reducer.js 文件,先编写代码判断 type 是不是 addItem,如果向 redux 的 list 中插入新值。
export default (state = defaultState,action)=>{
    if(action.type === 'changeInput'){
        let newState = JSON.parse(JSON.stringify(state)) //深度拷贝state
        newState.inputValue = action.value
        return newState
    }

    //关键代码------------------start----------
    //state值只能传递,不能使用
    if(action.type === 'addItem' ){ //根据type值,编写业务逻辑
        let newState = JSON.parse(JSON.stringify(state))
        newState.list.push(newState.inputValue)  //push新的内容到列表中去
        newState.inputValue = ''
        return newState
    }
     //关键代码------------------end----------

    return state
}
因为上节已经编写了订阅方法,所以到这里就可以打开浏览器进行预览了。 你可以试着添加一些新的东西进来。
 本节到这里就结束了,虽然没有什么新的知识点,但是这个Redux的流程你必须要熟练掌握,因为在工作中编写Redux程序,我几乎每天都在和这个流程打交道,实现界面的快速响应。
import { createStore } from 'redux'  //  引入createStore方法
import reducer from './reducer'
const store = createStore(reducer,window.__REDUX_DEVTOOLS_EXTENSION__ && window.__REDUX_DEVTOOLS_EXTENSION__()) // 创建数据存储仓库
export default store   //暴露出去
import React, { Component } from 'react';
import 'antd/dist/antd.css'
import { Input , Button , List } from 'antd'
import store from './store'

class TodoList extends Component {

    constructor(props){
        super(props)
        // 引入store,使用store.getState()方法,获取state
        this.state=store.getState();

		// 绑定 changeInputValue 函数
        this.changeInputValue= this.changeInputValue.bind(this)

        //转变this指向
        this.storeChange = this.storeChange.bind(this)

        //关键代码------------start----------
        this.clickBtn = this.clickBtn.bind(this)
        //关键代码------------end----------
        store.subscribe(this.storeChange) //订阅Redux的状态
    }

    render() {
        return (


                    增加


                    ({item})}
                    />


         );
    }

    changeInputValue(e){
        const action ={
            type:'change_input_value',
            value:e.target.value
        }
        store.dispatch(action)
    }

    storeChange(){
        this.setState(store.getState())
    }

    clickBtn(){
        const action = {type:'addItem'}
        store.dispatch(action)
     }

}
export default TodoList;
store 里的数据已经更新了,但是组件还没有进行更新,我们需要打开组件文件TodoList.js,在constructor,写入下面的代码。
constructor(props){
    super(props)

    获取state
    this.state=store.getState();

	绑定 changeInputValue 函数
    this.changeInputValue= this.changeInputValue.bind(this)

    //----------关键代码-----------start----storeChange函数
    this.storeChange = this.storeChange.bind(this)  //转变this指向
    store.subscribe(this.storeChange) //订阅Redux的状态
    //----------关键代码-----------end
}
重新 setState 一次就可以实现组件也是变化的。
storeChange(){
    this.setState(store.getState())
}
import React from 'react';
import ReactDOM from 'react-dom'
import TodoList from './TodoList'

ReactDOM.render(,document.getElementById('root'))
const defaultState = {
    inputValue : 'Write Something',
    list:[
        '早上4点起床,锻炼身体',
        '中午下班游泳一小时'
    ]
}

/*
JSON.parse() 方法将数据转换为 JavaScript 对象。
JSON.stringify() 方法用于将 JavaScript 值转换为 JSON 字符串。
*/

export default (state = defaultState,action)=>{
    // console.log(action.type);
    if(action.type === 'change_input_value'){
        let newState = JSON.parse(JSON.stringify(state)) //深度拷贝state
        newState.inputValue = action.value
        return newState
    }

    //关键代码------------------start----------
    //state值只能传递,不能使用
    if(action.type === 'addItem'){
        //根据type值,编写业务逻辑
        let newState = JSON.parse(JSON.stringify(state))

        newState.list.push(newState.inputValue)  //push新的内容到列表中去
        newState.inputValue = ''
        return newState
    }
     //关键代码------------------end----------
    return state
}