Nav Mesh是Unity中用于寻路行为的AI功能,下面简单介绍Nav Mesh的使用以及如何使用Line Renderer组件将寻路的路径通过如下方式绘制出来:

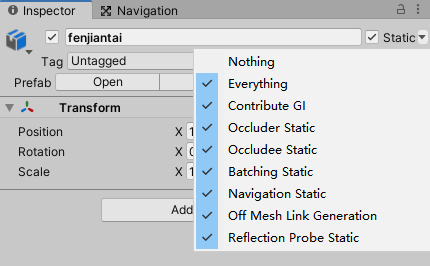
首先需要将场景中属于寻路过程中的障碍物体做Navigation Static处理,在Inspector检视面板右上角的Static中:
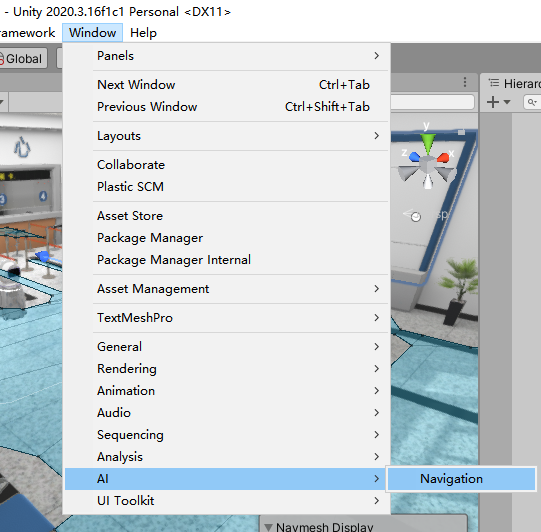
然后打开Navigation窗口进行烘焙,在Window/AI菜单中:
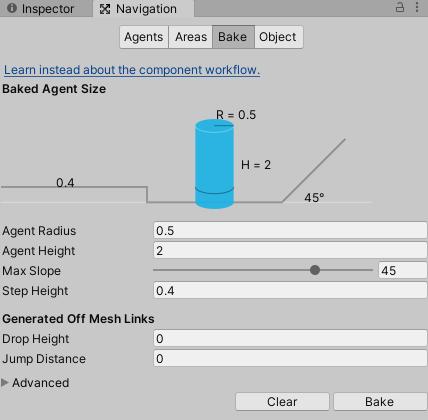
点击Bake烘焙,在Scene场景窗口中进行预览,其中蓝色的区域即是寻路时可以行走的区域:

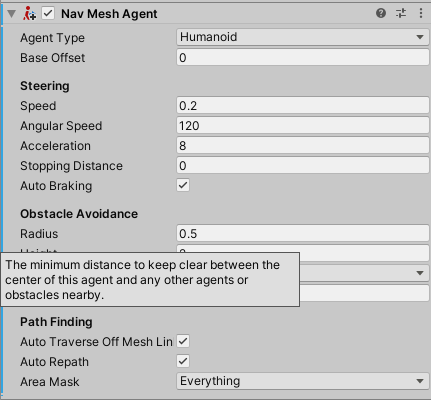
为示例中的机器人添加NavMesh Agent组件,该类中的SetDestination函数可以设置寻路的目标,传入一个坐标即可:
using UnityEngine;
using UnityEngine.AI;

public class Foo : MonoBehaviour
{
    private NavMeshAgent agent;
    [SerializeField] private Transform target;

    private void Start()
    {
        agent = GetComponent();
    }

    private void Update()
    {
        agent.SetDestination(target.position);
    }
}
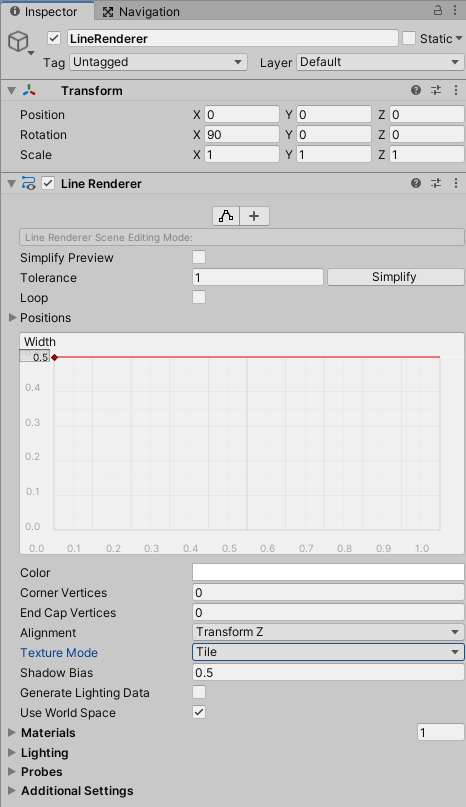
下面绘制寻路的路径,为机器人创建一个子物体并添加Line Renderer组件,路径不需要面向视图方向,因此Alignment模式设为TransformZ,同时将Texture Mode设为Tile:
using UnityEngine;
using UnityEngine.AI;

public class Foo : MonoBehaviour
{
    private NavMeshAgent agent;
    private LineRenderer lineRenderer;
    [SerializeField] private Transform target;

    private void Start()
    {
        agent = GetComponent();
        lineRenderer = GetComponentInChildren();
    }

    private void Update()
    {
        agent.SetDestination(target.position);
        var corners = agent.path.corners;
        lineRenderer.SetPositions(corners);
    }
}
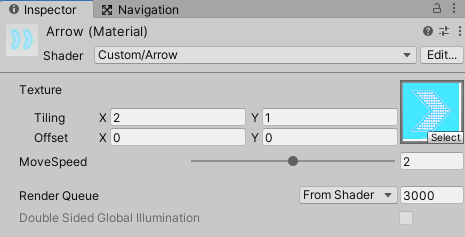
创建一个Shader,为LineRenderer添加Material材质球:
Shader "Custom/Arrow"
{
    Properties
    {
        _MainTex ("Texture", 2D) = "white" {}
        _MSpeed("MoveSpeed", Range(1, 3)) = 2 //移动速度
    }
    SubShader
    {
        //贴图带透明通道 ,半透明效果设置如下:
        tags{"Queue" = "Transparent" "RenderType" = "Transparent" "IgnoreProjector" = "True"}
        LOD 100
        Blend  SrcAlpha OneMinusSrcAlpha           //Blend选值为: SrcAlpha 和1-SrcAlpha  //也可测试为 DstColor SrcColor    //one one

        Pass
        {
            Name "Simple"
            Cull off //双面

            CGPROGRAM
            #pragma vertex vert
            #pragma fragment frag
            // make fog work
            #pragma multi_compile_fog

            #include "UnityCG.cginc"

            struct appdata
            {
                float4 vertex : POSITION;
                float2 uv : TEXCOORD0;
            };

            struct v2f
            {
                float2 uv : TEXCOORD0;
                UNITY_FOG_COORDS(1)
                float4 vertex : SV_POSITION;
            };

            sampler2D _MainTex;
            float4 _MainTex_ST;
            float _MSpeed;
            v2f vert (appdata v)
            {
                v2f o;
                o.vertex = UnityObjectToClipPos(v.vertex);
                o.uv = TRANSFORM_TEX(v.uv, _MainTex);
                UNITY_TRANSFER_FOG(o,o.vertex);
                return o;
            }

            half4 frag(v2f i) : SV_Target
            {
                float2 uv = float2(i.uv.x - _MSpeed * _Time.y,i.uv.y); //箭头移动的计算
                // sample the texture
                fixed4 col = tex2D(_MainTex, uv);
                // apply fog
                UNITY_APPLY_FOG(i.fogCoord, col);
                return col;
            }
            ENDCG
        }
    }
}
用到的贴图资源:
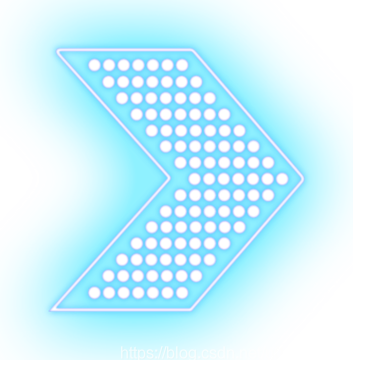
最终效果: