JDK模块化系列文章 JDK的模块化之Overview JDK模块化之模块的基础概念 JDK模块化之简单示例 JDK模块化之多模块示例
- JDK模块化四之多模块示例
-
- 多模块示例
-
- 图解步骤
-
- 项目新建
- 开发数据模块
- 开发支持模块
- 开发主模块
- 打包成jar
-
- 配置Artifacts
- Build
- 运行client.jar
演示一个依赖于另一个定制模块和标准模块的模块,新建项目Multi-Module。它的主要组成:
- 主模块com.donny.client,它使用com.donny.widget模块组件来呈现所需传递的消息,并返回特定类型的定制消息以打印它
- 消息类型在org.donny.data模块中。
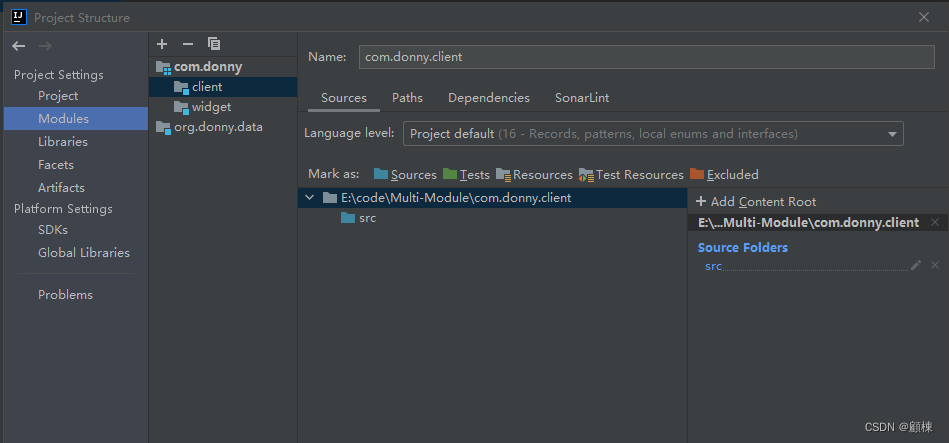
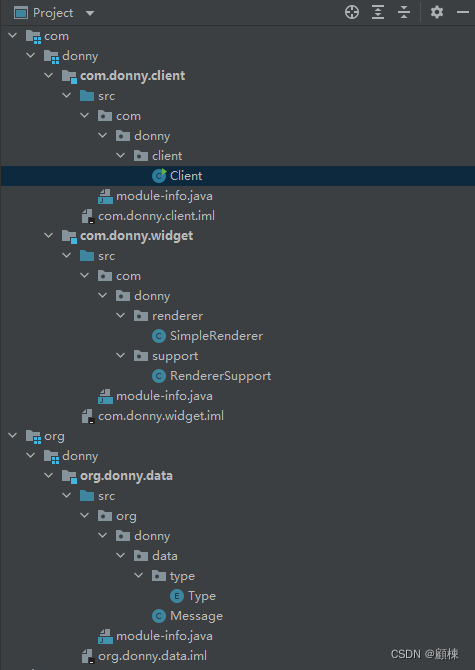
项目结构为三个模块和五个包,组织方式如下:
- 主模块包含一个主程序,com.donny.client,包含一个包:com.donny.main。
- 支持模块,com.donny.widget,包含两个软件包。com.donny.renderer和com.donny.support。
- 数据模块,org.donny.data包含两个包:org.donny.data和org.donny.data.type。
以下是模块开发以及模块和api如何相互交互的计划步骤:
- 开发一个模块,导出一个包供其他模块使用
- 在另一个开发模块中使用导出包中的类
- 导出指定的包,供指定模块使用
- 编译、JAR并运行主模块
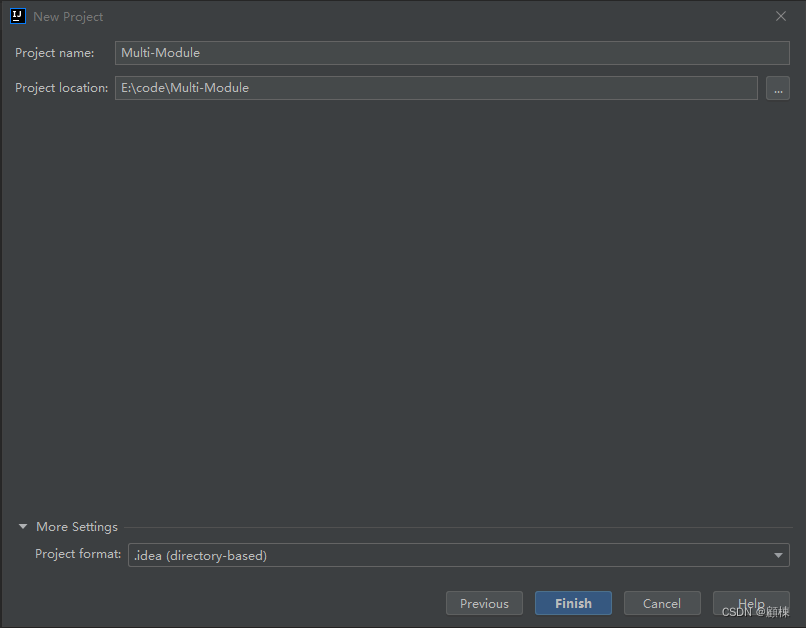
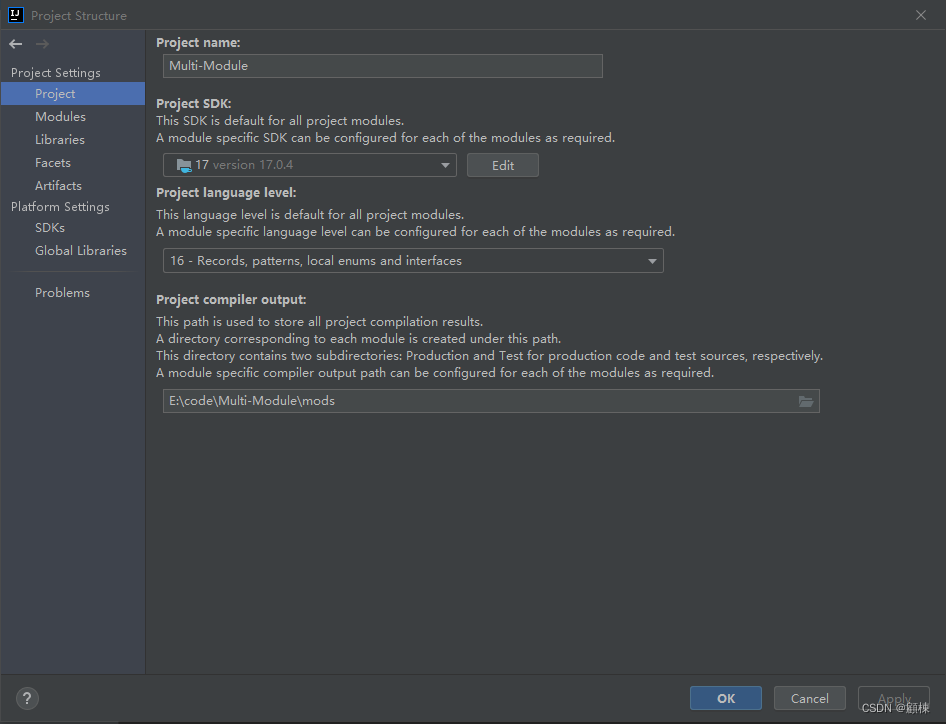
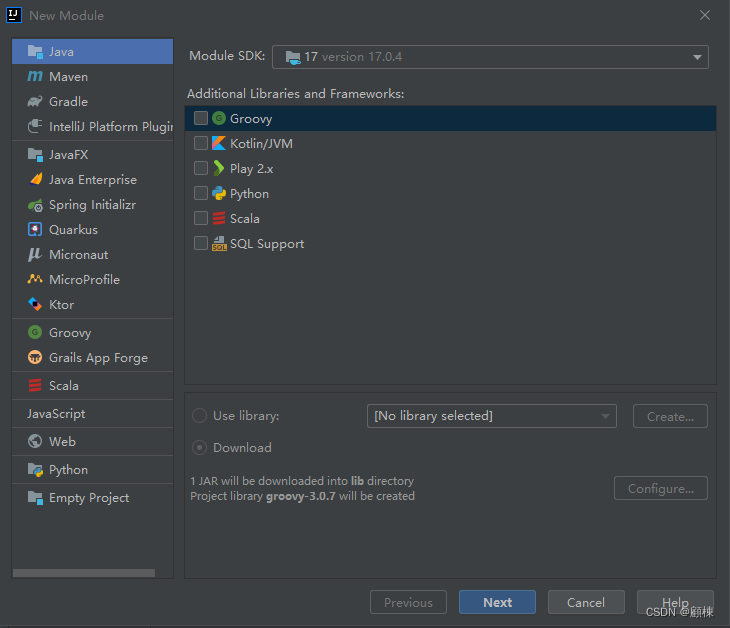
新建Empty Project项目,命名为Multi-Module,确认JDK为17。

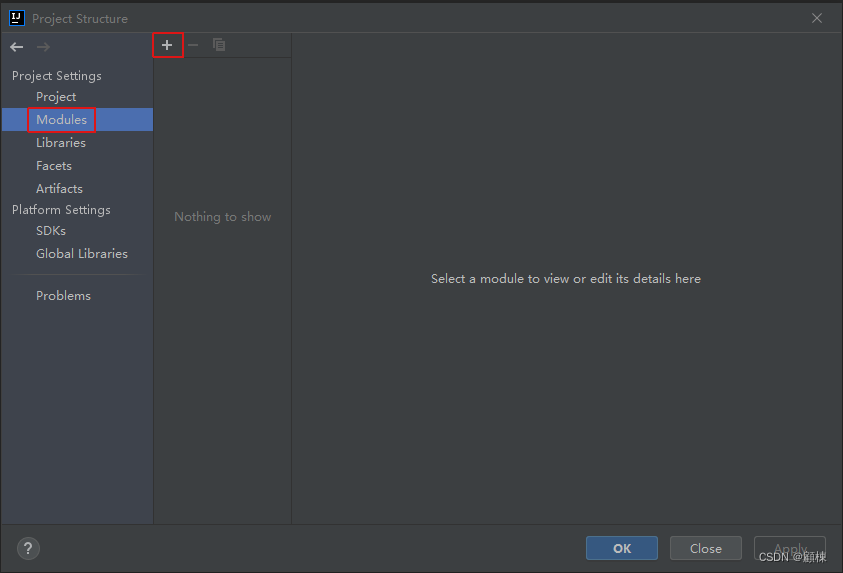
 新建数据模块、支持模块、主模块。
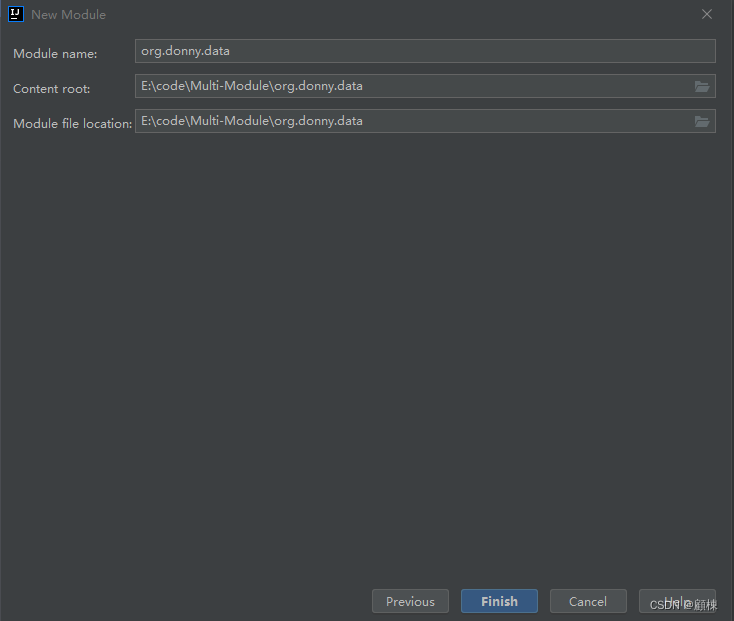
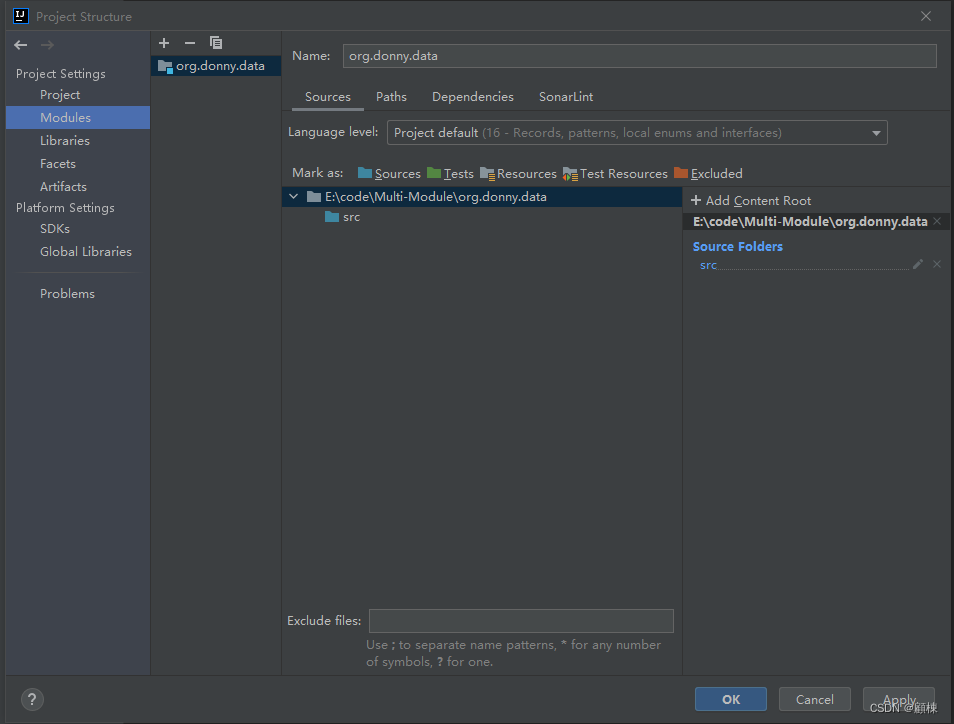
在src下新建包org.donny.data并新建类Message.java,新建包org.donny.data.type,在包下新建类Type.java。
package org.donny.data; import org.donny.data.type.Type; import java.util.Objects; public class Message { private String message; private Type type; public String getMessage() { return this.message; } public void setMessage(String message) { if (Objects.isNull(message) || message.isEmpty()) { throw new IllegalArgumentException("Invalid content;message should not be Null,or empty!"); } this.message = message; } public Type getType() { return type; } public void setType(Type type) { this.type = type; } }
package org.donny.data.type; public enum Type { XML, JSON, STRING }
在src下面新建module-info.java。导出模块包org.donny.data,org.donny.data.type只给模块com.donny.widget可用。
module org.donny.data { exports org.donny.data; exports org.donny.data.type to com.donny.widget; }
开发支持模块
在src下面新建module-info.java。导出模块包org.donny.support,依赖数据模块org.donny.data并传递该依赖,
module com.donny.widget { exports com.donny.support; requires transitive org.donny.data; }
在src下新建包com.donny.support并新建类RendererSupport.java,新建包com.donny.renderer,在包下新建类SimpleRenderer.java。
package com.donny.renderer; import org.donny.data.Message; public class SimpleRenderer { public void renderAsString(Message message) { System.out.println(processMessage(message)); } private String processMessage(Message msg){ return String.format("%n {Message= %s', Type= %s}", msg.getMessage(), msg.getType().toString()); } }
package com.donny.support; import com.donny.renderer.SimpleRenderer; import org.donny.data.Message; import static org.donny.data.type.Type.STRING; public class RendererSupport { private final Message message = new Message(); public void render(String message) { this.message.setMessage(message); this.message.setType(STRING); new SimpleRenderer().renderAsString(this.message); } public Message getCurrentMessage() { return this.message; } }
开发主模块
在src下新建文件module-info.java。依赖com.donny.widget。
module com.donny.client { requires com.donny.widget; }
在src下新建包com.donny.client并且新建类Client.java
package com.donny.client; import com.donny.support.RendererSupport; public class Client { public static void main(String[] args) { RendererSupport support = new RendererSupport(); support.render("Hello! Welcome to the Java 17 Platform Module System"); System.out.printf("%n %s %n %s %n %s %n %s", "-----------------", support.getCurrentMessage().getMessage(), "-----------------", support.getCurrentMessage().getType()); } }
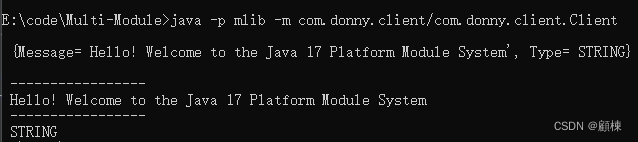
运行Client的main方法。
{Message= Hello! Welcome to the Java 17 Platform Module System', Type= STRING} -----------------
 Hello! Welcome to the Java 17 Platform Module System
 -----------------
 STRING
完整的工程目录
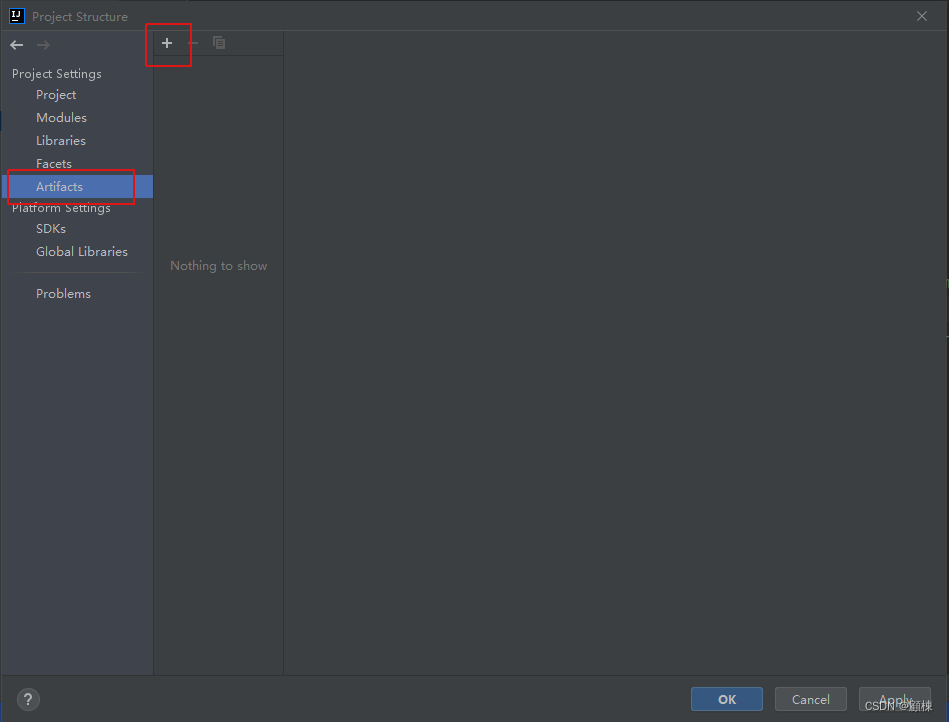
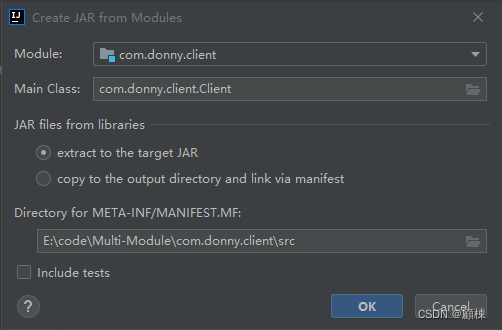
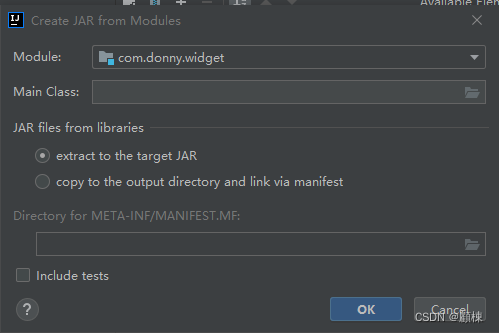
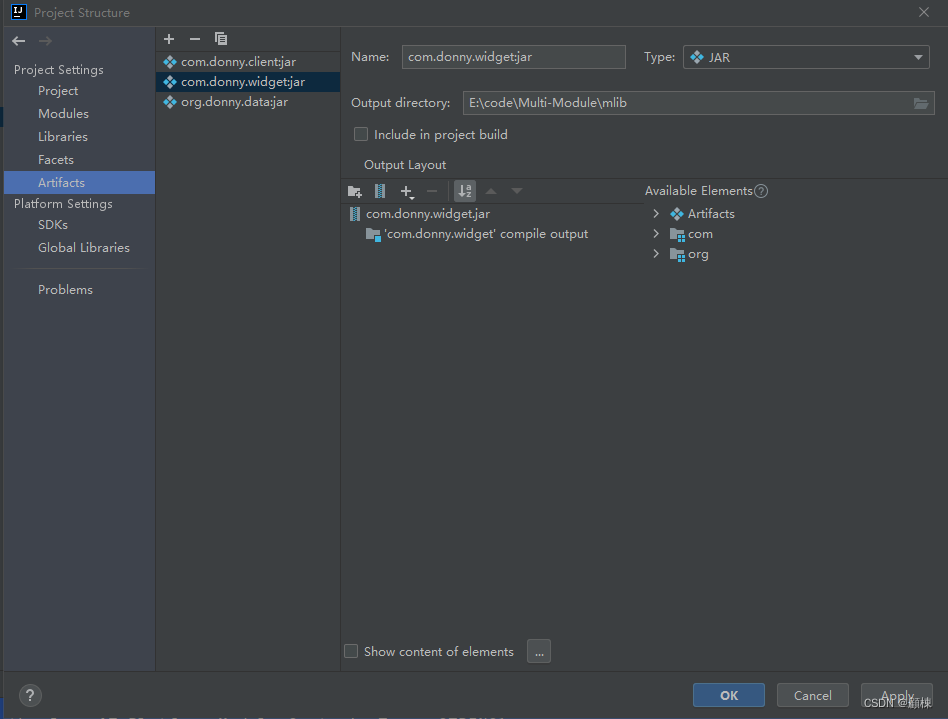
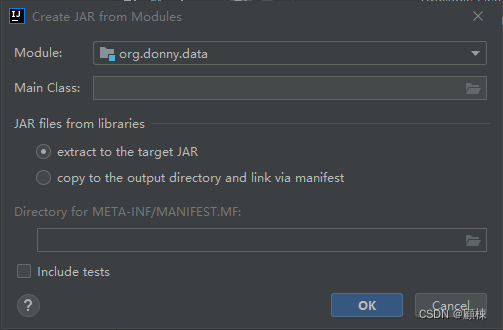
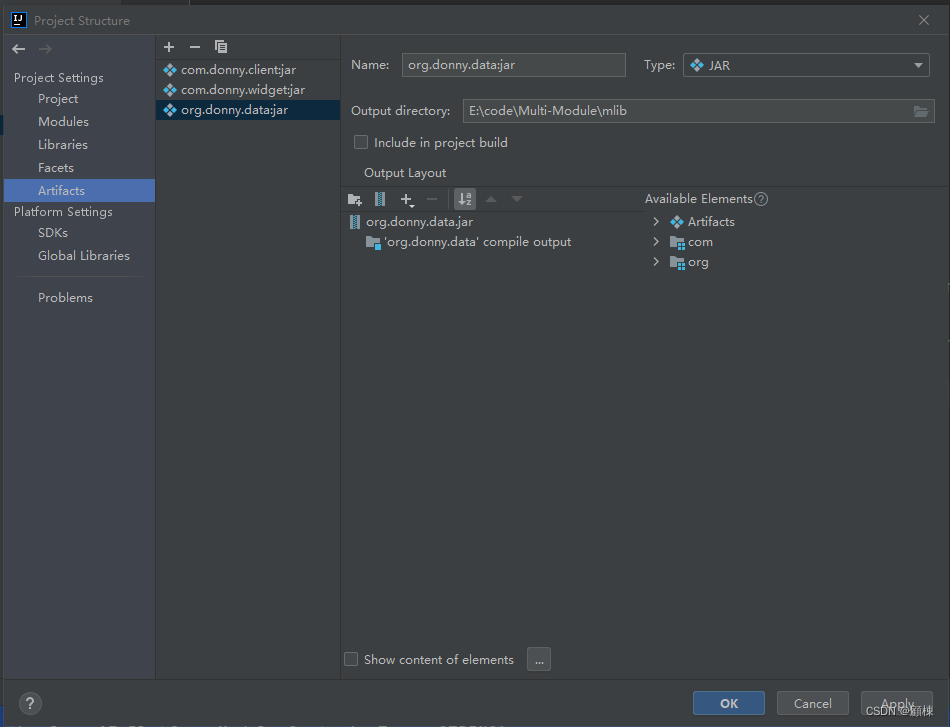
打开Project Structure,选择Artifacts,新增选择JAR from modules with dependencies)。
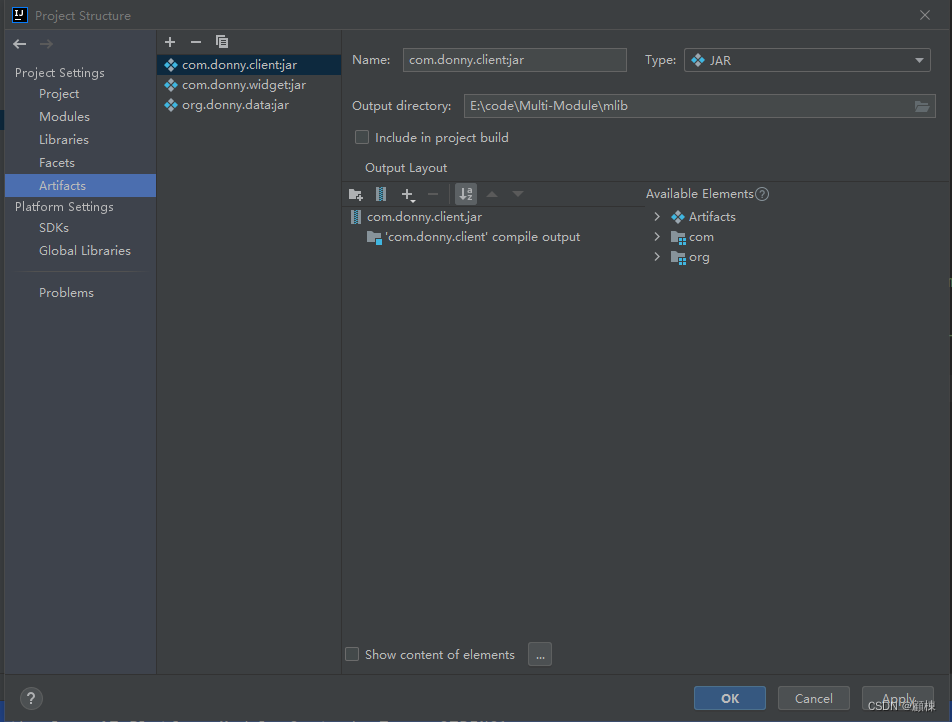
回到主窗体,选择Build, 单机Build artifacts,选择all。
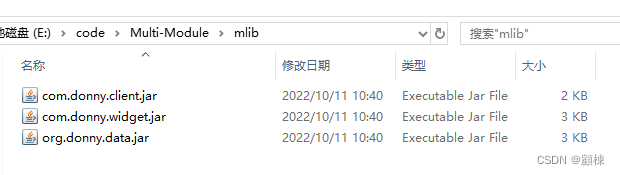
通过以下命令执行
java -p mlib -m com.donny.client/com.donny.client.Client