
目录
1. 运用着色器编写图案
2.着色器实现动画绘图
3.着色器实现圆环扩散效果
4.着色器实现雷达图效果
1. 运用着色器编写图案1)挤出一个盒子
  const extrudePolygon = new Cesium.PolygonGeometry({
    polygonHierarchy: new Cesium.PolygonHierarchy(
      Cesium.Cartesian3.fromDegreesArray([
        112.417, 23.29, 113.67, 23.56, 114.093, 22.59, 112.838, 22.285,
      ])
    ),
    // extrudedHeight: 30000,
  });

  const instance = new Cesium.GeometryInstance({
    geometry: extrudePolygon,
    id: "挤出四边形",
  });
2)设置材质
const material = new Cesium.Material({
fabric: {
// type: "Color",
// uniforms: {
// color: new Cesium.Color(1.0, 0.0, 0.0, 0.5),
// },
source: `
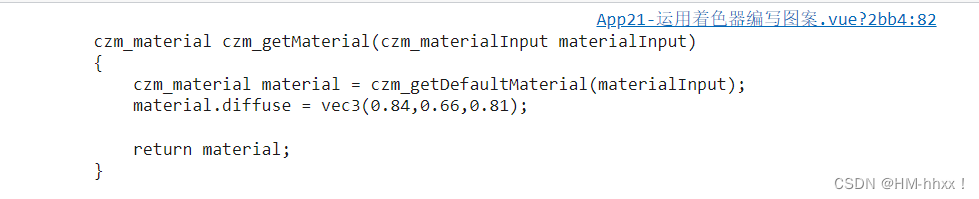
czm_material czm_getMaterial(czm_materialInput materialInput)
{
czm_material material = czm_getDefaultMaterial(materialInput);
material.diffuse = vec3(0.84,0.66,0.81);
return material;
}
`,
},
});
console.log(material.shaderSource);控制台输出:
3)着色器设置材质外观
 const appearance = new Cesium.MaterialAppearance({
    fragmentShaderSource: `
    varying vec3 v_positionEC;
    varying vec3 v_normalEC;
    varying vec2 v_st;

   void main()
  {
    vec3 positionToEyeEC = -v_positionEC;

    vec3 normalEC = normalize(v_normalEC);
   #ifdef FACE_FORWARD
    normalEC = faceforward(normalEC, vec3(0.0, 0.0, 1.0), -normalEC);
   #endif

    czm_materialInput materialInput;
    materialInput.normalEC = normalEC;
    materialInput.positionToEyeEC = positionToEyeEC;
    materialInput.st = v_st;
    czm_material material = czm_getMaterial(materialInput);
   //  实现圆
   // float strength = 1.0 - distance(v_st,vec2(0.5,0.5))*2.0;
   // material.diffuse = vec3(strength);
   // material.alpha = step(0.0,strength);

   // 渐变环
   float strength =  1.0-(abs(distance(v_st,vec2(0.5,0.5))-0.25)*4.0);
   material.diffuse = vec3(strength);
   material.alpha = step(0.0,strength);


   #ifdef FLAT
    gl_FragColor = vec4(material.diffuse + material.emission, material.alpha);
   #else
    gl_FragColor = czm_phong(normalize(positionToEyeEC), material, czm_lightDirectionEC);
   #endif
  }
    `,
  });
4)实例化着色图元
// 创建图元添加
var primitive = viewer.scene.primitives.add(
new Cesium.Primitive({
geometryInstances: [instance],
appearance: appearance,
})
);
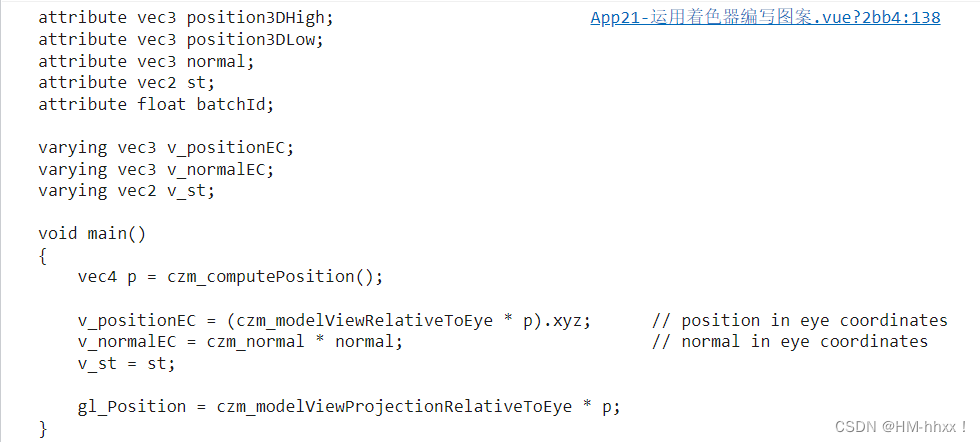
console.log(appearance.vertexShaderSource);
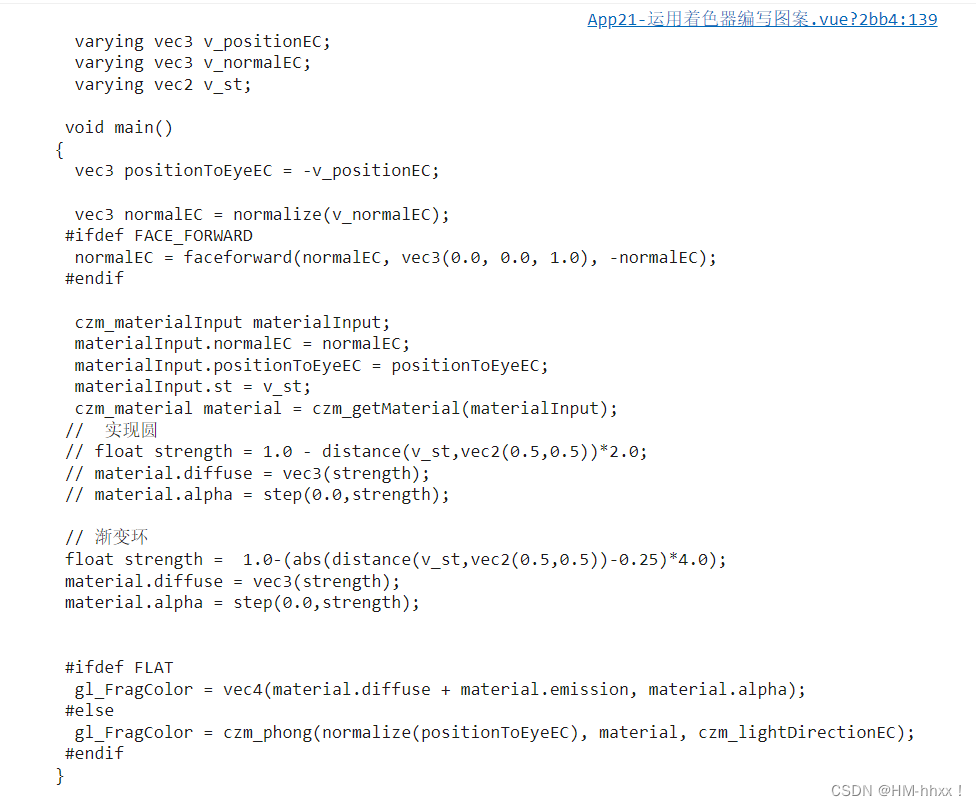
console.log(appearance.fragmentShaderSource);控制台输出:
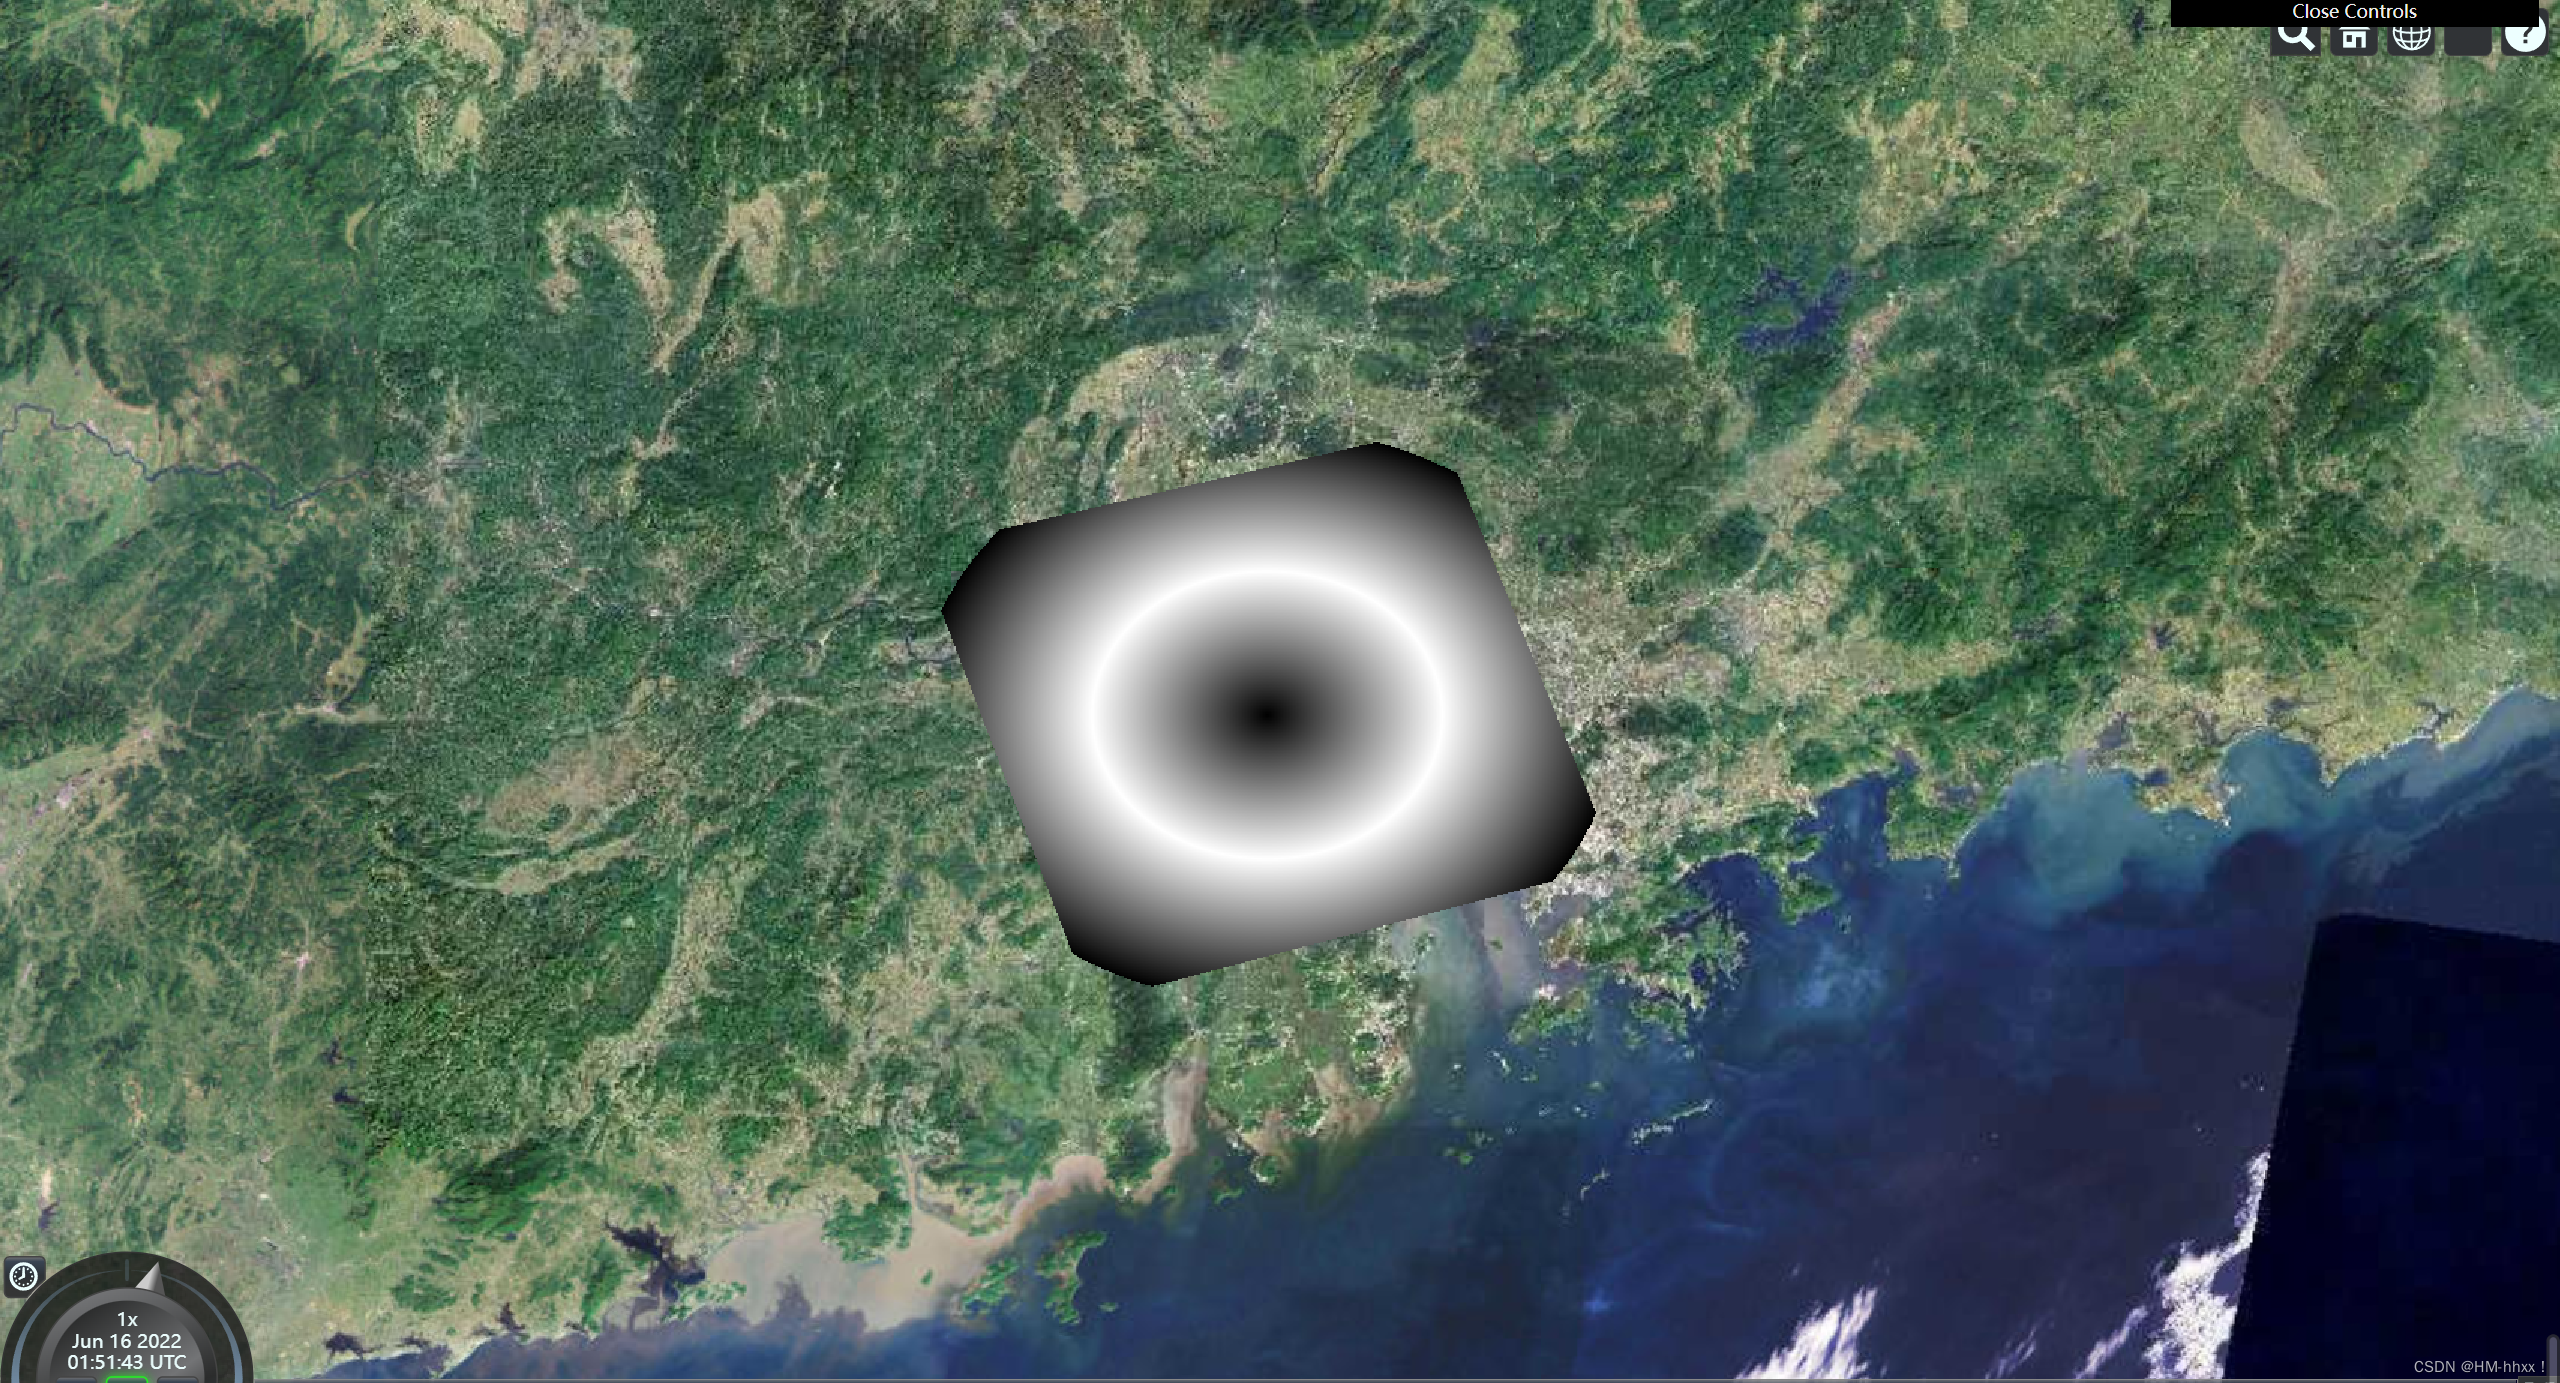
5)实现效果:
 2.着色器实现动画绘图
1)挤出矩形
const extrudePolygon = new Cesium.PolygonGeometry({
    polygonHierarchy: new Cesium.PolygonHierarchy(
      Cesium.Cartesian3.fromDegreesArray([
        112.417, 23.29, 113.67, 23.56, 114.093, 22.59, 112.838, 22.285,
      ])
    ),
    // extrudedHeight: 30000,
  });

  const instance = new Cesium.GeometryInstance({
    geometry: extrudePolygon,
    id: "挤出四边形",
  });
2) 实例化材质:
  const material = new Cesium.Material({
    fabric: {
      // type: "Color",
      uniforms: {
        color: new Cesium.Color(1.0, 0.0, 0.0, 0.5),
        uTime: 0,
      },
      source: `
      czm_material czm_getMaterial(czm_materialInput materialInput)
      {
          czm_material material = czm_getDefaultMaterial(materialInput);
          material.diffuse = vec3(uTime,uTime,0.81);

          return material;
      }
      `,
    },
  });
  console.log(material);
  console.log(material.shaderSource);
3)安装gasp实现补间动画:
GASP是一款可以用来制作动画的js插件。GASP是一个JavaScript动画库,它支持快速开发高性能的 Web 动画。GASP 使我们能够轻松轻松快速的将动画串在一起,来创造一个高内聚的流畅动画序列。
安装:
npm install gsap

yarn add gasp
导入:
import gsap from "gsap";使用:
第一个参数为要控制元素的选择器,第二个参数为控制元素的动画属性
  gsap.to(material.uniforms, {
    uTime: 1,
    duration: 1,//持续时长
    repeat: -1,//重复次数
    yoyo: true,//是否往返动画
    ease: "linear",//运动模式
    onUpdate: () => {
      console.log("值发生了修改");

    },
  });
4)实例化材质表面和图元
const appearance = new Cesium.MaterialAppearance({
    material: material,
    // translucent: true,
    // closed: true,
  });

  // 创建图元添加
  var primitive = viewer.scene.primitives.add(
    new Cesium.Primitive({
      geometryInstances: [instance],
      appearance: appearance,
    })
  );

  console.log(appearance.vertexShaderSource);
  console.log(appearance.fragmentShaderSource);
5)实现效果:
与上实现原理基本相似,通过挤出四边形,在该四边形上绘制半径变化的圆,并通过设置透明度,实现圆环扩散效果。
1)挤出矩形
const extrudePolygon = new Cesium.PolygonGeometry({
    polygonHierarchy: new Cesium.PolygonHierarchy(
      Cesium.Cartesian3.fromDegreesArray([
        112.417, 23.29, 113.67, 23.56, 114.093, 22.59, 112.838, 22.285,
      ])
    ),
    // extrudedHeight: 30000,
  });

  const instance = new Cesium.GeometryInstance({
    geometry: extrudePolygon,
    id: "挤出四边形",
  });
2)利用着色器绘制图形
const material = new Cesium.Material({
fabric: {
// type: "Color",
uniforms: {
color: new Cesium.Color(1.0, 0.0, 0.0, 0.5),
uTime: 0,
},
source: `
czm_material czm_getMaterial(czm_materialInput materialInput)
{
czm_material material = czm_getDefaultMaterial(materialInput);
float strength = 1.0 - (abs(distance(materialInput.st,vec2(0.5,0.5))-0.25+uTime)*8.0);
material.diffuse = vec3(strength,0.0,0.0);
// step
关注
打赏
最近更新
- 深拷贝和浅拷贝的区别(重点)
- 【Vue】走进Vue框架世界
- 【云服务器】项目部署—搭建网站—vue电商后台管理系统
- 【React介绍】 一文带你深入React
- 【React】React组件实例的三大属性之state,props,refs(你学废了吗)
- 【脚手架VueCLI】从零开始,创建一个VUE项目
- 【React】深入理解React组件生命周期----图文详解(含代码)
- 【React】DOM的Diffing算法是什么?以及DOM中key的作用----经典面试题
- 【React】1_使用React脚手架创建项目步骤--------详解(含项目结构说明)
- 【React】2_如何使用react脚手架写一个简单的页面?

