
最好参考官方文档: Hi3861开发环境 这里做下记录
(1)安装编译依赖基础软件(仅Ubuntu 20+需要) 执行以下命令进行安装:
sudo apt-get install build-essential gcc g++ make zlib* libffi-dev
(2)安装Scons 运行如下命令,安装SCons安装包。
python3 -m pip install scons
运行如下命令,查看是否安装成功。如果安装成功,查询结果下图所示。
scons -v
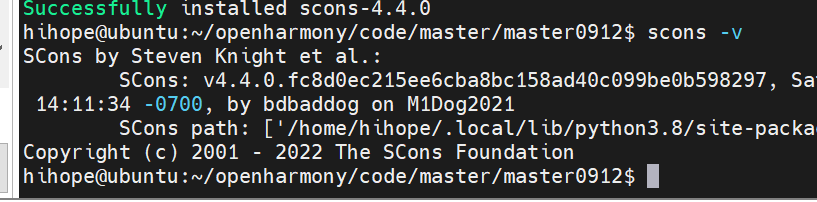 图 1 SCons安装成功界面,版本要求3.0.4以上
(3)安装python模块 运行如下命令,安装python模块setuptools。
pip3 install setuptools
(4)安装GUI menuconfig工具(Kconfiglib),建议安装Kconfiglib 13.2.0+版本,任选如下一种方式。
命令行方式:
sudo pip3 install kconfiglib
(5)安装pycryptodome,任选如下一种方式。
安装升级文件签名依赖的Python组件包,包括:pycryptodome、six、ecdsa。安装ecdsa依赖six,请先安装six,再安装ecdsa。
命令行方式:
sudo pip3 install pycryptodome
(6)安装six,任选如下一种方式。
命令行方式:
sudo pip3 install six --upgrade --ignore-installed six
(7)安装ecdsa,任选如下一种方式。
命令行方式:
sudo pip3 install ecdsa
(8)安装gcc_riscv32(WLAN模组类编译工具链) 下载以下交叉编译工具链: 交叉编译工具链下载
请先执行以下命令将压缩包解压到根目录:
tar -xvf gcc_riscv32-linux-7.3.0.tar.gz -C ~
编辑.bashrc文件
vim ~/.bashrc
将以下命令拷贝到.bashrc文件的最后一行,保存并退出。
export PATH=~/gcc_riscv32/bin:$PATH
生效环境变量。
source ~/.bashrc
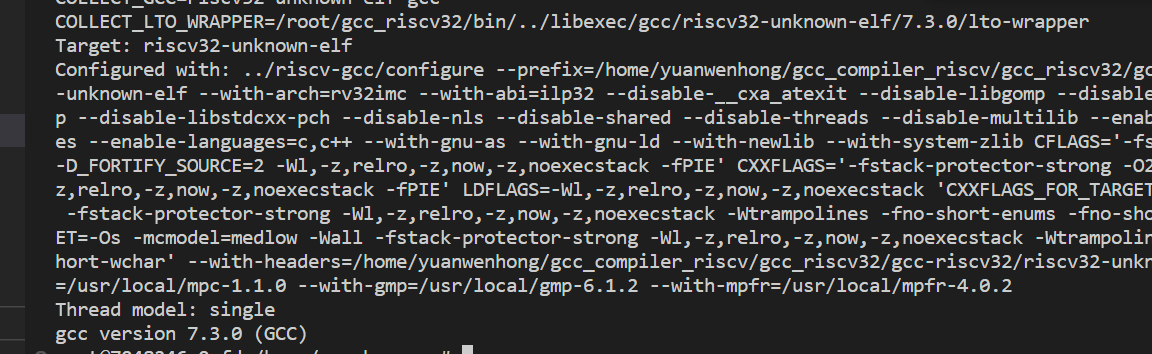
Shell命令行中输入如下命令,如果能正确显示编译器版本号,表明编译器安装成功。
riscv32-unknown-elf-gcc -v
源码目录 下载完代码后,大家可以进入代码目录
hb set
这里我们选择 wifiiot_hispark_pegasus

之后输入:
hb build -f
开始编译
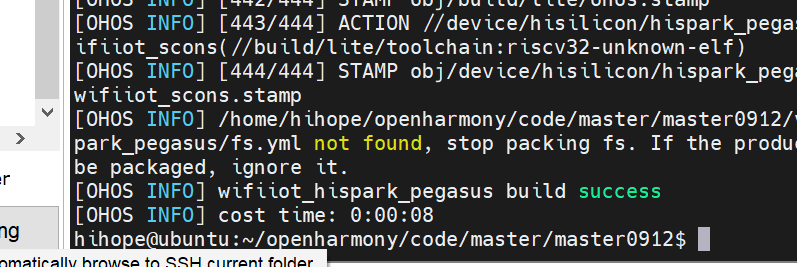
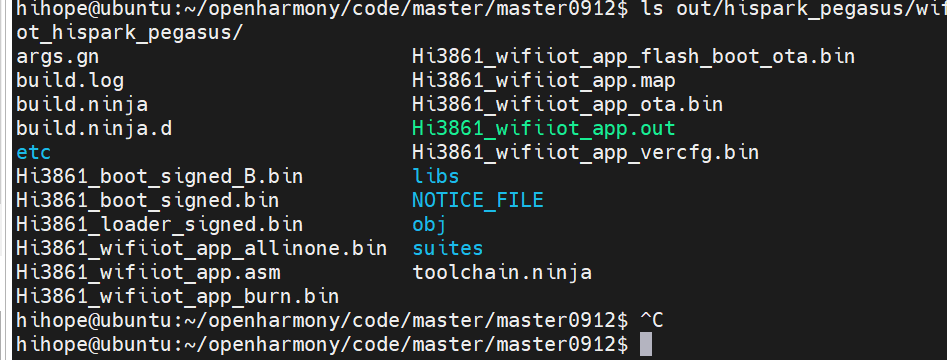
编译后的固件
ls out/hispark_pegasus/wifiiot_hispark_pegasus/
最后给大家解释一下hb
hb方式hb是OpenHarmony的命令行工具,用来执行编译命令。以下对hb的常用命令进行说明。
hb set
设置要编译的产品
hb set -h
usage: hb set [-h] [-root [ROOT_PATH]] [-p]

optional arguments:
  -h, --help            show this help message and exit
  -root [ROOT_PATH], --root_path [ROOT_PATH]
                        Set OHOS root path
  -p, --product         Set OHOS board and kernel
- hb set 后无参数,进入默认设置流程
- hb set -root dir可直接设置代码根目录
- hb set -p设置要编译的产品
hb env
查看当前设置信息
hb build
编译产品、部件、模块或芯片解决方案。
hb build -h
usage: hb build [-h] [-b BUILD_TYPE] [-c COMPILER] [-t [TEST [TEST ...]]] [-cpu TARGET_CPU] [--dmverity] [--tee]
                [-p PRODUCT] [-f] [-n] [-T [TARGET [TARGET ...]]] [-v] [-shs] [--patch] [--compact-mode]
                [--gn-args GN_ARGS] [--keep-ninja-going] [--build-only-gn] [--log-level LOG_LEVEL] [--fast-rebuild]
                [--device-type DEVICE_TYPE] [--build-variant BUILD_VARIANT]
                [component [component ...]]

positional arguments:
  component             name of the component, mini/small only

optional arguments:
  -h, --help            show this help message and exit
  -b BUILD_TYPE, --build_type BUILD_TYPE
                        release or debug version, mini/small only
  -c COMPILER, --compiler COMPILER
                        specify compiler, mini/small only
  -t [TEST [TEST ...]], --test [TEST [TEST ...]]
                        compile test suit
  -cpu TARGET_CPU, --target-cpu TARGET_CPU
                        select cpu
  --dmverity            enable dmverity
  --tee                 Enable tee
  -p PRODUCT, --product PRODUCT
                        build a specified product with {product_name}@{company}
  -f, --full            full code compilation
  -n, --ndk             compile ndk
  -T [TARGET [TARGET ...]], --target [TARGET [TARGET ...]]
                        compile single target
  -v, --verbose         show all command lines while building
  -shs, --sign_haps_by_server
                        sign haps by server
  --patch               apply product patch before compiling
  --compact-mode        compatible with standard build system set to false if we use build.sh as build entrance
  --gn-args GN_ARGS     specifies gn build arguments, eg: --gn-args="foo="bar" enable=true blah=7"
  --keep-ninja-going    keeps ninja going until 1000000 jobs fail
  --build-only-gn       only do gn parse, do not run ninja
  --log-level LOG_LEVEL
                        specifies the log level during compilationyou can select three levels: debug, info and error
  --fast-rebuild        it will skip prepare, preloader, gn_gen steps so we can enable it only when there is no change
                        for gn related script
  --device-type DEVICE_TYPE
                        specifies device type
  --build-variant BUILD_VARIANT
                        specifies device operating mode
- hb build后无参数,会按照设置好的代码路径、产品进行编译,编译选项使用与之前保持一致。-f 选项将删除当前产品所有编译产品,等同于hb clean + hb build.
- hb build {component_name}:基于设置好的产品对应的单板、内核,单独编译部件(e.g.:hb build kv_store)。
- hb build -p ipcamera@hisilicon:免set编译产品,该命令可以跳过set步骤,直接编译产品。
- 在device/board/device_company下单独执行hb build会进入内核选择界面,选择完成后会根据当前路径的单板、选择的内核编译出仅包含内核、驱动的镜像。
hb clean
清除out目录对应产品的编译产物,仅保留args.gn、build.log。清除指定路径可输入路径参数:hb clean out/board/product,默认将清除当前hb set的产品对应out路径。
hb clean
usage: hb clean [-h] [out_path]

positional arguments:
  out_path    clean a specified path.

optional arguments:
  -h, --help  show this help message and exit

